Plot numbers, house type marks & text labels
The Annotation menu (✍, in the palette) holds three tools for labelling your drawing: plot numbering, house type marks and free text labels.
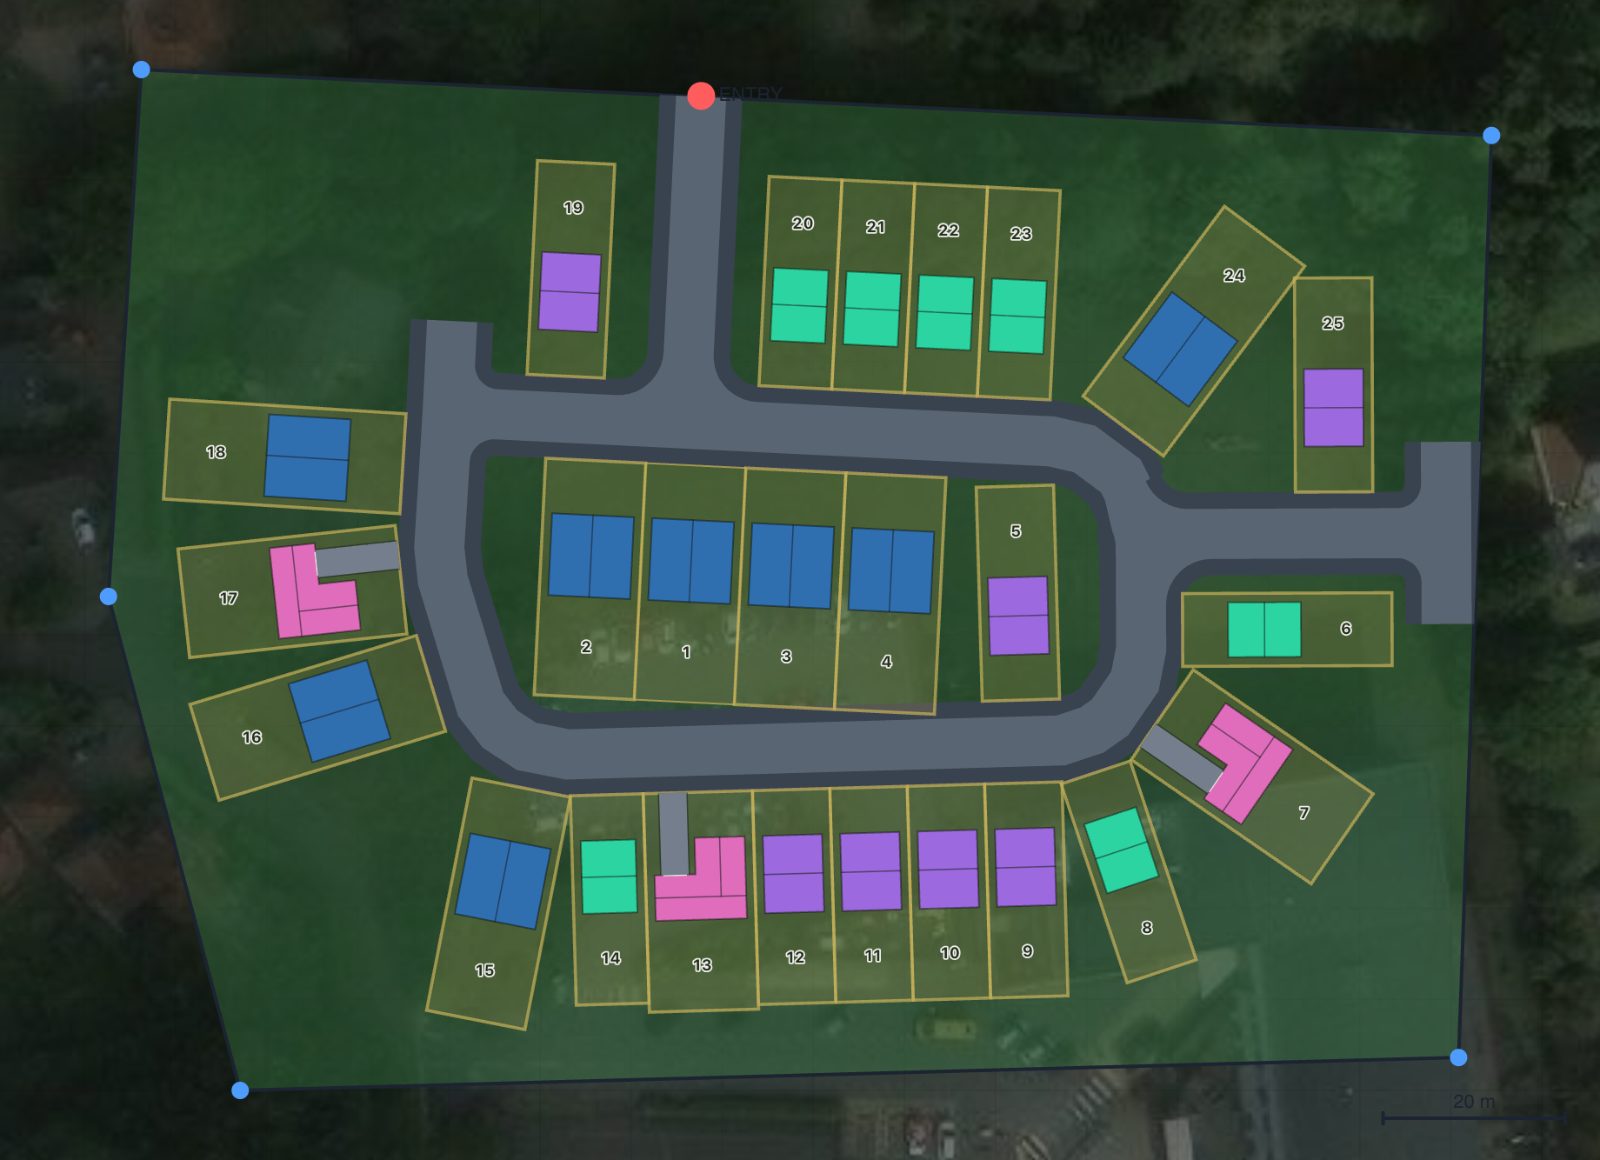
Number plots (🔢)
Automatically numbers every plot. A panel lets you set the position of numbers, the starting number, whether to skip 13, and to auto-number or clear. Numbers follow the street order.
House type marks (🔠)
Shows each house's type mark — a short code, up to two characters — on its footprint, so a reader can tell the types apart without matching colours to the legend. Selecting the tool switches the marks on and opens a panel where you choose:
- Corner — bottom-left (the default), bottom-right, top-left or top-right of the footprint, read on the sheet rather than relative to the house, so every mark on the drawing sits the same way round.
- Font scale — how prominent the marks are.
- Auto-scale — off (the default), a mark takes a real size on the plan and grows and shrinks with the drawing, which is what you want for a PDF or DXF issue at a set scale. On, it stays the same size on screen at any zoom, like a screen label. Same option as a text label.
Each mark is aligned to its own house — it turns and hands with the building, so it reads as a label on the footprint rather than one dropped near it. Where the frontage would set it back to front it turns through 180° so it stays readable.
The panel also lists what every type is currently marked as.
Set a type's mark in the Mark box on its card in 4 · House types, or in the house builder. Leave it blank and the mark is the first two characters of the type name — so Wakefield 2B4P shows as WA and Berwick as BE. Marks are always shown in capitals.
Text label (🔤)
Places free text anywhere on the 2D plan or sketch. When you add a label you can choose:
- Font — pick from the font selector.
- Size — defaults to 12; change per label.
- Leader — when ticked, your first click sets the leader target and the second click places the text, with a leader line drawn between them. The leader attaches at the left or right edge of the text at mid-height, never behind it, and you can add a draggable elbow. With leader off, a single click places the text.
- Justification — centred, left or right. The label’s point stays put and the text grows from it, so right-justifying notes that sit to the left of what they point at lines their right edges up down the sheet. The leader always meets the side of the block facing it.
- Several lines — a label can be as many lines as you need. Press Enter in the text box for a new one. The block stays centred on its point, and the leader attaches to the side of the whole block rather than the first line.
- Editing in place — double-click the words on the plan and the caret lands in the text where it sits, in its own font and size, instead of in a box at the bottom of the screen. What you type appears on the drawing as you go, so the leader and the outline follow the text as it grows. Esc throws the edit away; clicking elsewhere, or Ctrl/Cmd+Enter, keeps it.
- Auto-scale — keep the label a fixed size on screen, or let it scale with the drawing.
Double-click a label to reopen its editor and change the text or options.
Try it on your own site
Turn a boundary into an optimised UK layout in minutes — free to start.
Open the app →